
By Laura Tilt.
There’s nothing quite like an edible Christmas gift - a jar of chutney or container of gingerbread is always gratefully received, and the thought and fun that goes into making gifts for friends and family definitely delivers on the feel-good factor.
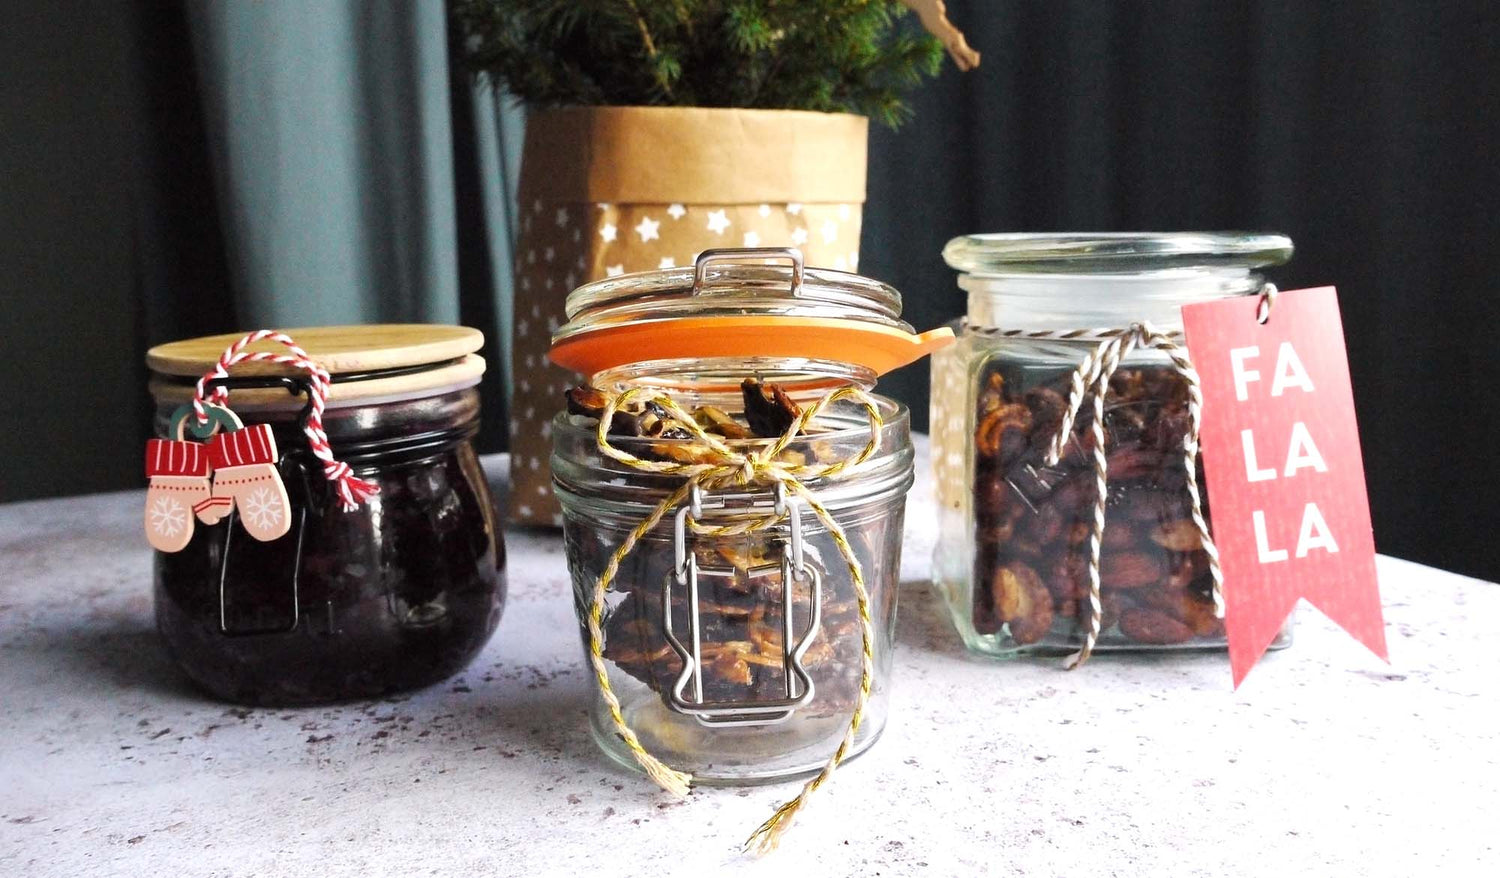
If you fancy making your own edible gifts this year, we’ve got three gut-friendly gifts that look brilliantly festive and taste delicious, so stick on your favourite festive playlist and get cooking!
P.s. There’s no need to give them away if you’ve already got your gift list sorted - you can simply make them to enjoy at home - win win.
Recipes
A Christmas Kraut
A ‘kraut’ (short for sauerkraut) is a fermented cabbage dish, which roughly translates as ‘sour cabbage’. It’s tangy, crunchy, and since it’s made at home and not pasteurised - more likely to be a source of live, active microbes than one you buy off the shelf.
This Christmas kraut is a star spangled take on a traditional kraut, made with red cabbage, beetroot, and apple. It’s great served with smoked fish, meats or in sandwiches - think Christmas buffet table! Once it’s fermented, it’ll need to be stored in the fridge until it’s gifted (and then eaten) but will then keep for a few months so long as the vegetables are kept submerged in their brine.

Prep time: 20 minutes plus resting time (roughly an hour)
Fermenting time: 3-5 days
Makes about a 700g jar, or two smaller ~300g jars (jam sized)
Ingredients
1 medium red cabbage - if you can get organic do so, as they tend to be better for fermenting. If not, worry not!
2 medium or 3 small raw beetroot
1 apple
Fine salt
Zest and juice of 1 orange
0.5 tsp grated nutmeg
1 tsp crushed juniper berries (optional)
Other equipment
Jar(s) and ribbon to decorate
Method
1. Remove the outer leaves from the cabbage and cut in half. Remove any tough stalk by cutting around it and then shred the cabbage finely. Set to one side
2. Remove the ends from the beetroot, peel, and grate roughly - you might want to use gloves to avoid stained fingers, although a good wash afterwards should remove most of the pink. Core the apple and grate (no need to peel) and add to the vegetables pile.
3. Measure the total weight of your cabbage, beetroot and apple and make a note of the number. Calculate 1.5% of this weight - this is the amount of salt you will use. For example, if the total weight of your vegetables was 700g, you’d use 10.5 grams. Measure out your salt.
4. Tip the beets, cabbage and apple into a large mixing bowl, sprinkle over the salt and using your hands, massage the salt into the vegetables, giving it all a good squeeze. Once it’s well combined you can leave the vegetables for an hour or so to let the salt draw out their liquid which will form the brine (which acts as a preserving liquid). While you are waiting you can prep your jar(s) - wash them well in hot water and then dry out in a low (50 degree) oven.
5. Come back and check your vegetables after an hour. Pick up a few handfuls and give them a good squeeze - you should find that a nice pool of salty brine leaches out. If not, give it a bit longer, or keep massaging to help the juices flow.
6. Once you have a good pool of brine, mix in the orange juice, zest and spices until everything is combined.
7. Next, carefully load the kraut into jars, pushing the vegetables down after every few spoonfuls using either your fist or the end of a rolling pin - when you do this, you’ll squeeze out any air and will see the brine rise above the kraut. Keep repeating until you get to the top. Ideally once you get to the top the vegetables will be completely submerged in the brine (which helps to keep the right environment and prevent any mould growing) but if not, you can add something heavy to weigh them down under the liquid - ideas include a (well cleaned) stone, a glass weight, or even a yoghurt lid or clean cabbage leaf slotted under the rim. You can also buy fermenting weights for this purpose.
8. Seal your jar and place in a bowl (to catch any drips of brine that escape) and leave at room temperature to ferment for 3-5 days. Check the kraut each day by opening the lid to release any gas - you will notice some bubbles forming after a day or two, depending on the warmth of your room. After three days when there is some activity, you can take a clean fork and taste a small amount - if you are happy with the taste, transfer to the fridge. If you’d like it sourer, keep it fermenting on the countertop for another day or two, and check in with another taste test.
9. Tie some ribbon around your jar and add a label with the name of your ferment and the date it was made before gifting. A few instructions on keeping it in the fridge and always using a clean fork are usually welcome too!
Spiced Roasted Nuts
A jar of these spiced sweetened nuts makes a great last-minute gift as they’re really simple to make and are a great crowd pleaser for a drinks or nibbles party. Nuts are a source of polyphenols (beneficial plant compounds) and fibre, both of which are used as fuel by your gut microbes.

Makes one large or two small jars
Ingredients
1 egg white
300g mixed unsalted nuts (e.g. hazelnut, Brazil nuts, walnuts, pecans, cashews)
Christmas spices - you can choose your favourites. Here I used 1 tsp ginger, 1 tsp ground allspice, 0.5 tsp grated nutmeg, 0.5 tsp cinnamon
1 tbsp honey plus a little more for drizzling
Method
1. Preheat oven to 150°C/300°F.
2. Put the egg white into a large mixing bowl and whisk with a hand whisk until it goes foamy and increases in volume. Stir in the nuts, spices, one tablespoon of honey and mix well until the nuts are well coated with the spices and liquid.
3. Spread nut mixture out onto a baking sheet covered in a silicone mat or baking parchment. Cook for 10 minutes, remove and drizzle over the last tsp of honey. Stir to cover the nuts and break them up a little and return to the oven for a further 10 minutes.
4. Leave to cool - once they are cool enough to handle, come back at regular intervals to break them up so that they don’t form into clumps.
5. Once completely cold, pack into an airtight jar and decorate with ribbon - they should keep for a month or so (if they last that long) if sealed properly.
Dark Chocolate Florentines
Florentines are delicate biscuits made of nuts and dried fruit and decorated with chocolate. They’re delicious with a cup of tea or as an after dinner sweet, and they look ever so pretty in a box or jar tied with ribbon.
In this recipe I’ve included a few different nuts and coated the florentines in dark chocolate to maximise the gut friendly benefits from polyphenols - plant based compounds in nuts and cocoa which fuel your gut microbes.

Makes around 20 small florentines
Ingredients
25g butter
50g demerara sugar
60ml oat cream
15g plain flour
50g pistachios
40g chopped hazelnuts
50g flaked almonds
40g dried cranberries or sour cherries
150g dark chocolate (minimum 70% cocoa solids)
pinch flaky sea salt
Method
1. Preheat your oven to 170c / 340F.
2. Place the butter and sugar in a medium saucepan and place over a gentle heat. Stir until the butter has melted and the sugar has dissolved into the butter. Add the oat cream and continue to stir until you have a caramel-coloured liquid.
3. Take off the heat, whisk in the flour and then tip in all your nuts and fruit. Mix well until all the fruit and nuts are coated with the sauce.
4. Line a baking tray with parchment or a silicone mat. Place heaped teaspoons of the mix onto the baking parchment spaced well apart - you’ll need to bake in two or three batches, so 6-9 florentines per sheet is enough. Use less mix than you might think you need as they spread out.
5. Use a teaspoon to work each small pile of mixture into a circle and then bake for 10-12 minutes until golden. Leave to cool for a few minutes then carefully remove from the sheet with a slice and transfer onto a wire rack. Repeat the cooking process with the remaining mixture.
6. Once your florentines are cold, melt the chocolate in a bowl over a pan of gently simmering water, being careful not to get any water in the chocolate as it will go grainy. Use a teaspoon to coat the underside (base) of each florentine with melted chocolate and leave to set. As the chocolate is starting to set, use a fork to create a wavy pattern and sprinkle a tiny amount of sea salt over the top (optional but moreish)
7. Leave to cool completely until the chocolate is well set, and then carefully stack into a box or jar for gifting.
