Gingerbread has a long history of being eaten on special occasions and the story goes that if you exchanged gingerbread tied with a ribbon, it was a sign of love. These gingerbread are perfect for sharing over the festive season, or packed into a box or jar with a sprig of Xmas tree and a festive ribbon they’d be a lovely gift.
This recipe has been designed with a nod to gut health by using wholewheat spelt flour which is high in fibre. I’ve also decorated with dark chocolate, ginger and nuts, which are a source of polyphenols, natural compounds found in plant foods that help to feed your beneficial gut microbes.

Ingredients
75g butter75g muscovado sugar
2 tbsp golden syrup or molasses
225 grams wholemeal spelt flour (try looking in a large supermarket)
1 tsp cinnamon
2 generous tsp ginger
1 tsp ground allspice
0.5 tsp ground cloves
0.5 level tsp bicarb
1 egg
You’ll need a Christmas shaped cookie cutter - I used a variety of star cutters from my local supermarket.
To decorate
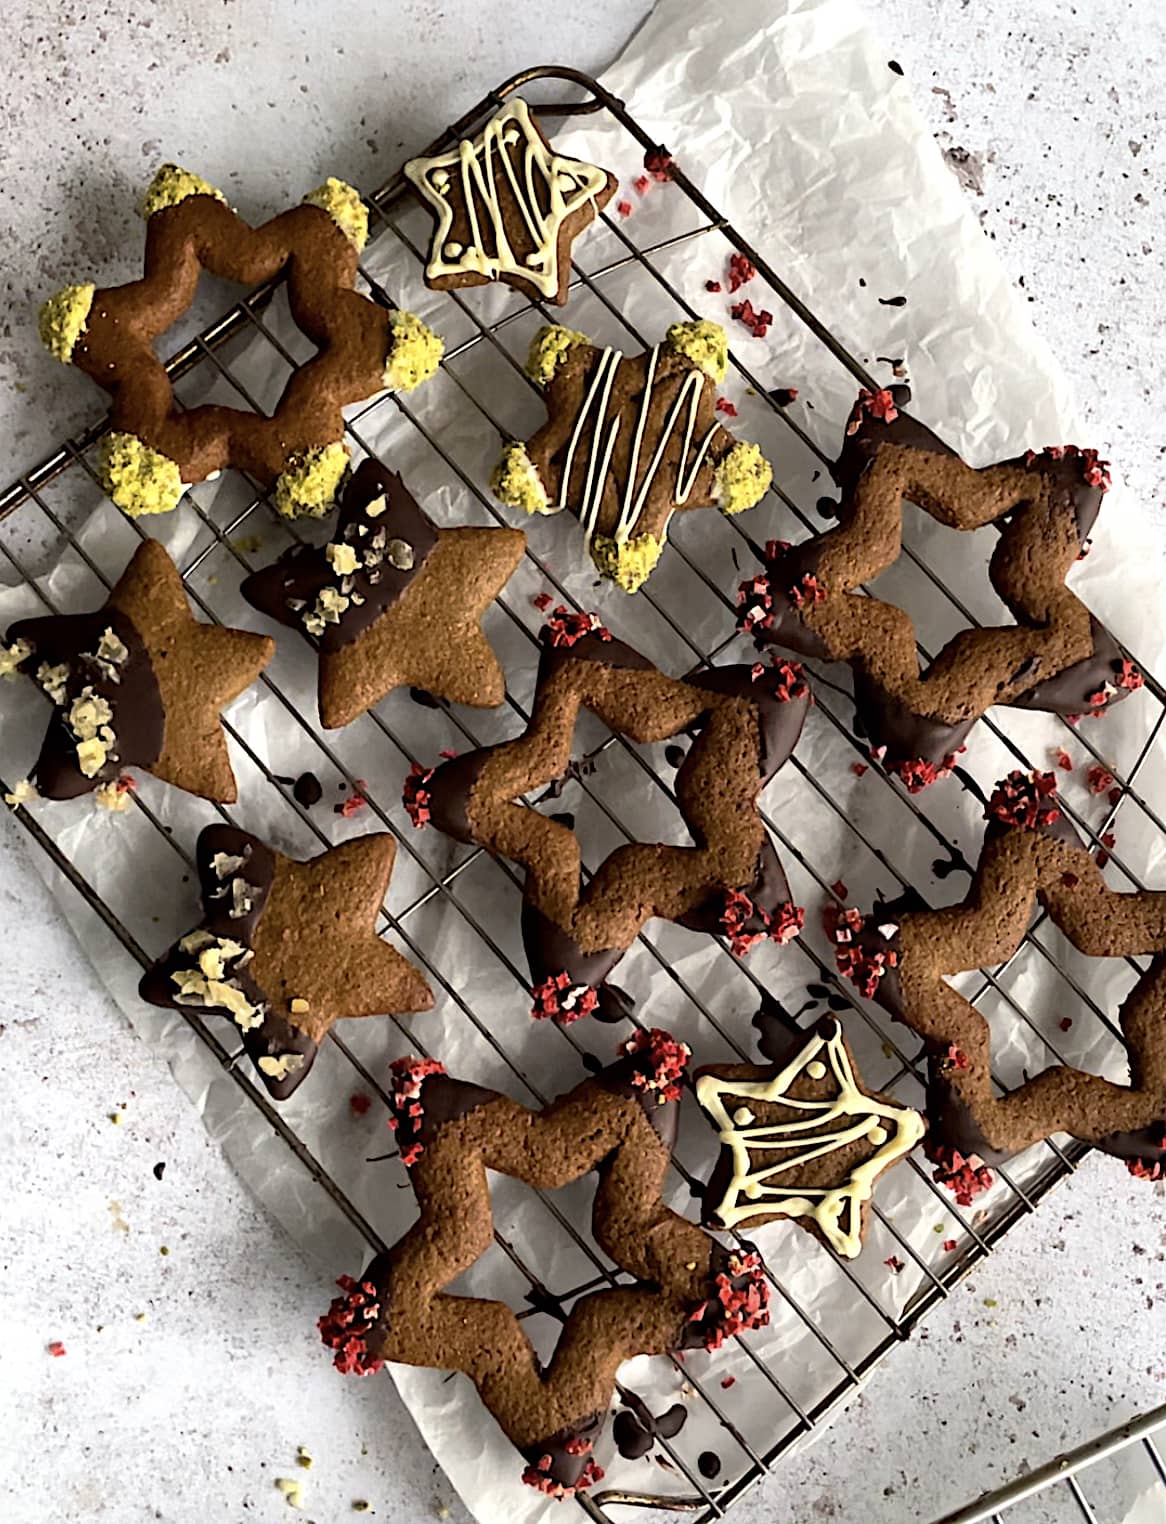
Your choice of chocolate, icing or nuts. I used ginger, dark and white chocolate, freeze-dried raspberries, stem ginger and crushed pistachios.
Method
Put the butter in a pan over a medium heat to start melting. Once half the butter has melted, tip in the sugar and molasses (or golden syrup). Stir over the heat until the ingredients are combined and then take off the heat and leave to cool slightly.In a large bowl, sift together the flour, bicarb and spices. As this recipe using wholegrain flour you’ll be left with the bran (fibrous bit) in the sieve - tip this in at the end.
Whisk the egg and once the molasses mix has cooled a little, tip both into the dry ingredients and bring everything together into a dough. The dough will be very soft - this is normal so we will be handling it as little as possible. Bring it into a ball with your hands and then tip out onto a large sheet of baking paper.
Place another sheet of baking paper over the top of the ball and then use your hands to gently press or pat your dough into a disk shape, then use a rolling pin over the baking paper to roll the dough out to about the thickness of a pound coin. Chill for an hour (or even overnight) - this will make it much easier to cut your shapes.
Take your dough out of the fridge, check the thickness is even (do a little extra rolling if not), and then use your cutters to cut out shapes. Carefully transfer to a lined baking sheet - a metal spatula can be helpful here, as you want to peel the cookies off very gently to make sure they keep their shape. Repeat with any leftover dough by re-rolling between the baking paper.
Preheat your oven to 160°C (fan) and place the cookies back in the fridge until your oven is hot - this helps to prevent them spreading too much during baking.
Cook for 10-12 minutes. It can be difficult to determine if the cookies are ready as the dough is already a dark golden colour, but you can check the underside of one cookie - it should no longer be doughy. Depending on their size, they might need a little longer or less cooking in the oven.
Leave to cool then transfer to a wire rack until completely cold. Melt your chocolate over a pan of simmering water, then get creative and dip, drizzle and decorate with your chosen toppings.
Once dry, store between layers of baking paper in an airtight container. Best eaten within a day or two.